Chrome OS is a Linux-based operating system designed and owned by Google. It is a lightweight operating system that can potentially replace the more traditional Windows and Mac OS. Even though everything inside the Chrome OS runs on a browser, Chromebooks released after 2017 has access to the Google Play Store. The OS can be a lifesaver for your old PC/Laptop. In this guide, we’ll show you how to install Chrome OS on a laptop.

Related: Chrome OS 89 update weaves deeper Google Assistant integration
Before we proceed, it should be noted that Chrome OS cannot be installed on anything other than Chromebooks. But you can always install a near-identical alternative, the CloudReady OS. It is built on top of Chromium OS, just like the Chrome OS is.
Steps to Install Chrome OS on a Laptop
Download CloudReady OS
We’ll be installing CloudReady OS instead of Chrome OS. CloudReady OS can be installed on any machine. But we need to download it first (don’t we?). So head over to the official website to download CloudReady OS.
- Click on Get Started.
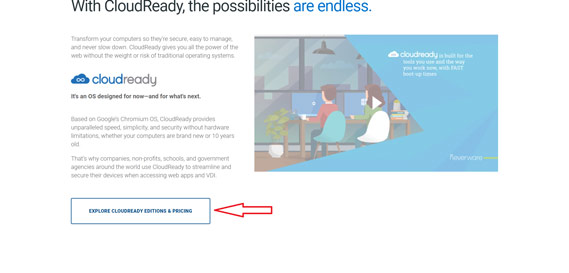
- Scroll down and click on EXPLORE CLOUDREADY EDITIONS & PRICINGS.
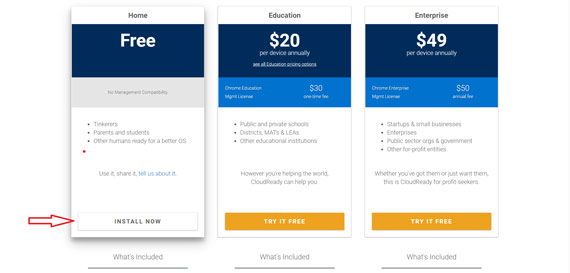
- Click on INSTALL NOW under the Home Edition.
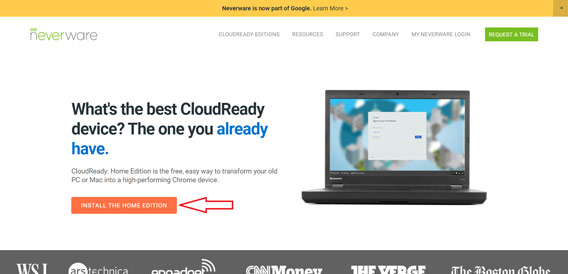
- Click on INSTALL THE HOME EDITION on the new page.
- Now here is where things get complicated. You can either choose to download an installer or an image(ISO) file.
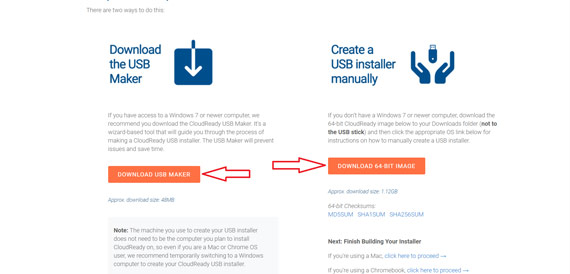
- If you have access to a Windows machine, we recommend that you go with the DOWNLOAD USB MAKER. This method is used to create a bootable USB from within Windows, and it will work on any device (PC/Mac).
- If you own a Mac, or just want to use it on a virtual machine, go with DOWNLOAD 64-BIT IMAGE.
Create Bootable USB from Windows
Creating a bootable USB is simple if you went with DOWNLOAD USB MAKER.
- Open the downloaded file and follow the on-screen instructions.
- Make sure the USB Stick has a minimum of 8GB available space.
- Try not to use a SanDisk USB drive, as CloudReady doesn’t recommend that.
Create Bootable USB from Mac
Creating a bootable USB by following these steps if you went with DOWNLOAD 64-BIT IMAGE. Also, make sure you have Chrome installed on your Mac/PC.
- Add the Chromebook Recovery Utility extension to your Chrome browser.
- Open the Chromebook Recovery Utility. Click on Settings at the top-right corner and select Use Local Image.
- Locate the cloudreadyXXXX.bin.zip file in the Downloads folder. Connect the USB device and choose the corresponding drive on the screen. Click on Continue and wait for the process to complete.
Once all that’s done, let’s proceed with the installation.
Steps to Install Chrome OS on Laptop PC/Mac
Installation is almost similar for a PC and Mac. We need to boot from the USB to install Chrome OS on the machine. We need to enter the BIOS and it will vary from brand to brand (or model to model).
- Connect the USB containing the installation files and turn on the machine.
- Hit the Esc key followed by F9 to boot from the USB. (For the case of a modern HP Laptop). If you’re using a Mac, press and hold the Option key and select the USB drive using the arrow keys or the mouse.
- The welcome screen will pop up. You can click on Let’s go > to run CloudReady OS without installing it. This is a recommended step before proceeding with the installation.
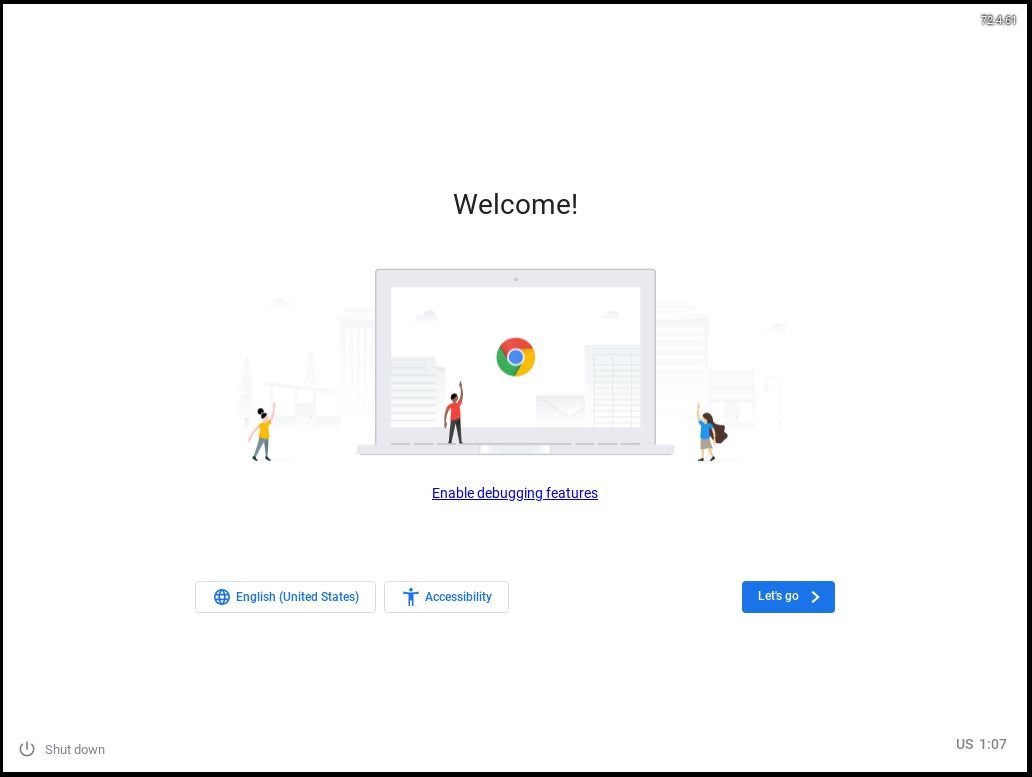
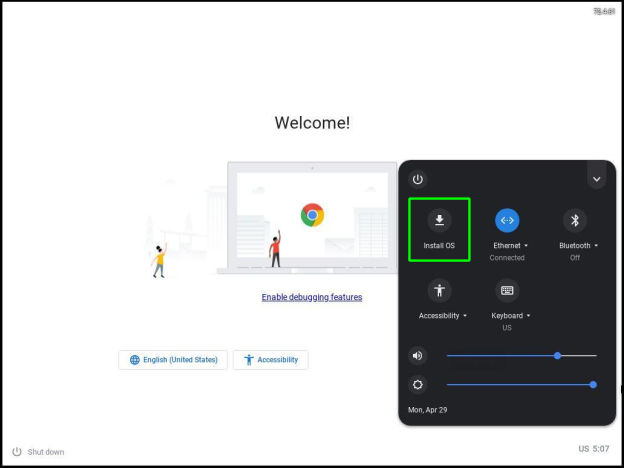
- Click on the clock at the bottom-right corner and select Install OS to start the installation.
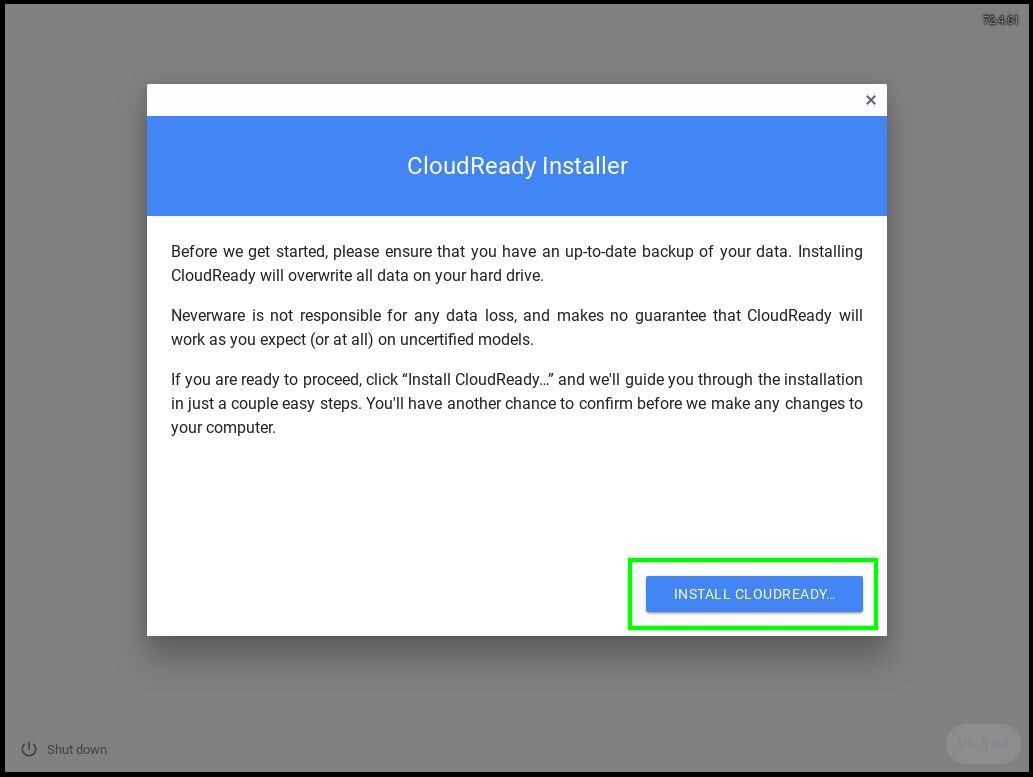
- Tap on INSTALL CLOUDREADY OS
Click ERASE HARD DRIVE & INSTALL CLOUDREADY
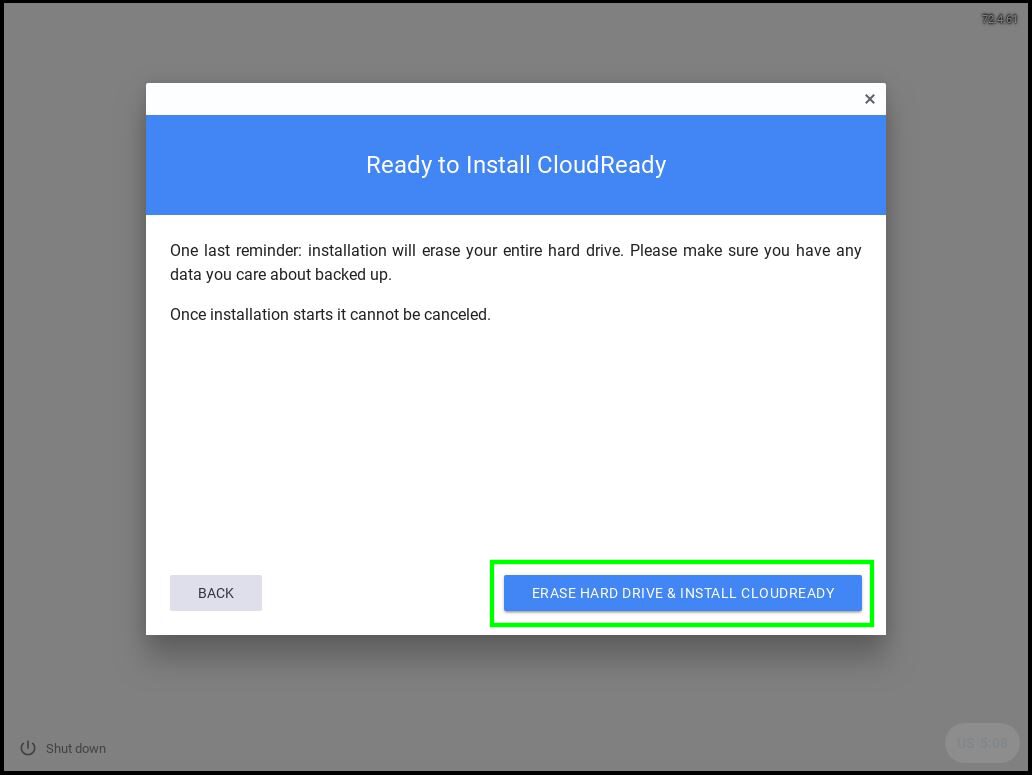
Note: This will erase everything on your hard drive. Proceed with caution. Also, note that dual boot is not supported by CloudReady.
The installation will take some time to complete. If everything goes right, the system will restart. After that remove the USB drive and follow the on-screen instruction to set up the new OS.
Install ChromeOS on Laptop PC using a Virtual Machine
Creating a virtual machine is always a good idea. As it does not cause any harm to your existing operating system. We can create a VM for CloulReady OS the same way we do for any Linux-based operating system. To do that follow these steps.
- Download and install VMware.
- Open VMware Workstation and start by creating a new virtual machine.
- Select Custom (advanced) and set the hardware for the VM.
- Selecting ESXi 6.5 is recommended to maximize compatibility.
- Select I will install an operating system later.
- Choose a guest operating system type of Linux, and select the Version Other Linux 4.x or later kernel 64-bit.
- Configure the number of processors and cores (2 processors and 2 cores is recommended).
- Allocate at least 2GB RAM and create a virtual disk with a maximum of 16GB Storage.
- Review your settings and click finish.
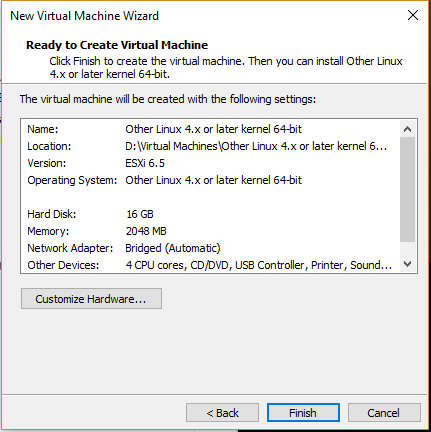
Right-click on the VM and select Settings. Make the following changes.
-
USB compatibility to USB 3.0 under the USB controller. Also, enable Accelerate 3d graphics under Display.
- Go to Options > Advanced and change the Firmware type to UEFI. Without this CloudReady VM will only boot in UEFI.
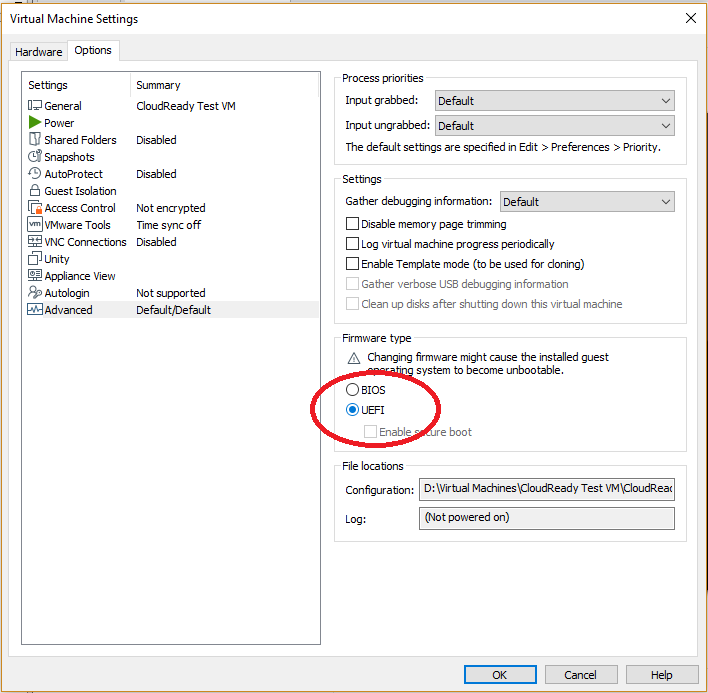
- Right-click the VM and select Power>Power on to firmware.
- When the VM starts go to VM>Removable Devices>[name of USB]>Connect (disconnect from the host) to attach the bootable USB to your VM.
- You can now install CloudReady OS on the VM as you would on a PC.
Also Read: How to set up parental controls on Chromebook
Now that was one lengthy guide. We hope you found this helpful. Reach us through the comments if you need any further assistance.
