Chromebooks are definitely ready-to-go machines as you power them on. It runs on Chrome OS, Google’s operating system, heavily relies on Google’s suite of applications and is much smoother and lighter than heavily loaded OS like windows. If you need to change your Owner account to a new one, and you don’t know how to change it. Then you are on the right page here we will guide you to change the ownership on Chromebook.
What is Chromebook Ownership?
Chromebook’s owner account is the primary account that you used to sign into it for the first time. It has some exclusive rights that include.
- Time zone settings
- Sign-in permissions (In case of a guest account)
- WiFi network preferences (switching between them)
In general cases, the primary individual account that you used to log in at the beginning will be your owner account. If you are using a Chromebook that is given by a company, school, or any organization, then your owner account will be an administrator account with a domain name @company.com. Google has no right to reveal or make changes to this owner’s account since they are not a part of Google. Hence, if you are working on such Chromebooks, head over to this page to know more.
Backing up the data
Before you do anything, quickly take a backup of all files and settings. To do this,
- Open your Google account from the top right corner. Select the People and sync option from the Settings menu
- Select the files and settings you want to sync. This will create a backup of People, Google Drive, and photos.
- Additionally, if you need to just switch google account data to a newer account you are about to sign in as the owner, then turn on sharing for the new account in Google drive settings.
Related: How to cast Phone screen to PC or a Laptop
Steps to change owner on Chromebook
To change Chromebook ownership Google demands you to mandatorily wipe out the data and set up another account.
- To reset your Chromebook to factory settings sign in to your Chromebook. Select your photo icon by clicking the timer option below.
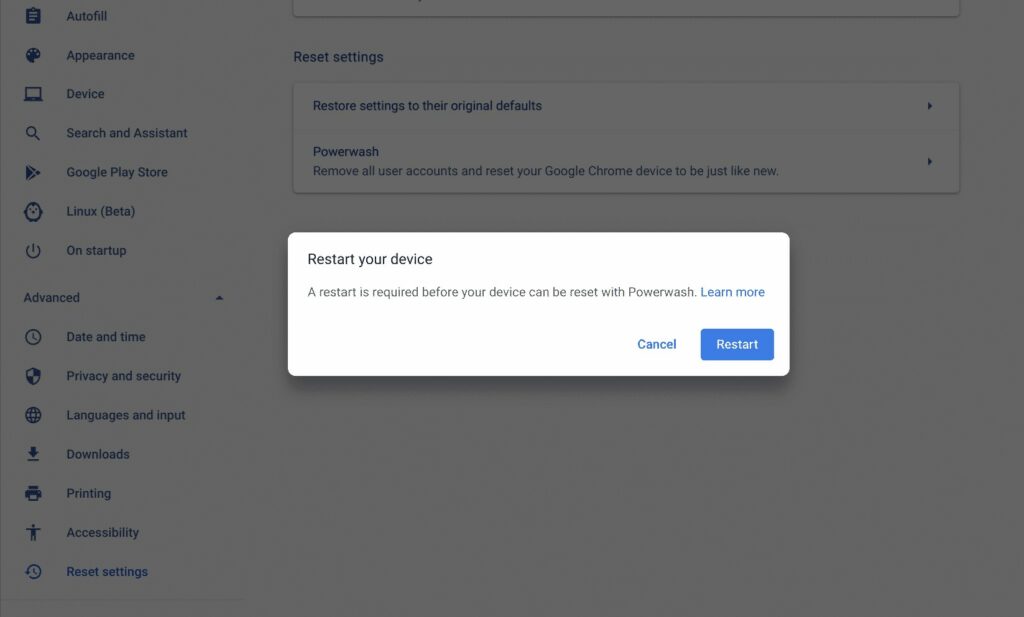
- Select Settings>Advanced. In the powerwash section, Select powerwash or simply press CTRL+ALT+SHIFT+R on the login screen. This will powerwash your Chromebook, meaning all the accounts that you signed into and everything that comes with those accounts (extensions, apps, files, settings, etc.).
3. After this, the Chromebook will restart and now you can sign in with a new account that you want as the owner. Follow the steps below.
Related: How to install Mozilla Firefox on a Chromebook
Setting up a new Owner Account:
- Turn on Chromebook. Choose your preferred language, and select a network to proceed.
- Accept the terms of service.
- If you already have a Google account sign in on the next page or create one. If you wish to continue as a Guest, Click Guest.
It must be noted that you cannot change the ownership of your administrator as said earlier and you need to contact your administrator for the same. If you find any problem while following this method use the comment box below to ask us.


