Let us know how to install and use GIMP for Chromebook. It is an open-source image editor with various useful tools that make image editing pretty fluid and efficient. If you are into image editing and own a Chromebook, then GIMP could be the perfect tool for you.

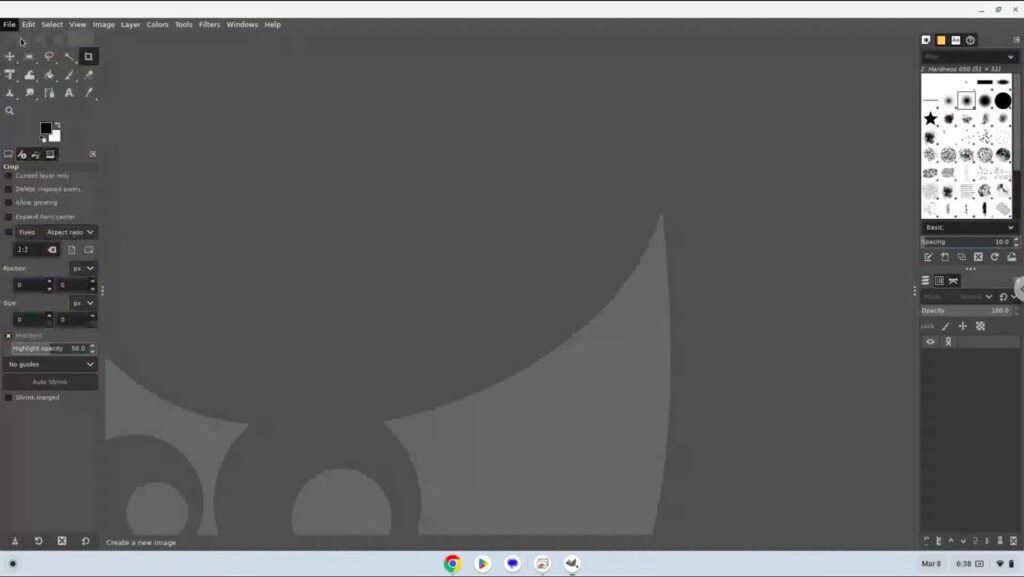
Irrespective of whether you have proficiency in GIMP or as a newcomer wanting to delve into the possibilities the free tool has to offer, it is easy to install GIMP on Chromebook. GIMP is the acronym for GNU Image Manipulation Program. It is a free software for image editing. Its editing interface is similar to that of Adobe Photoshop. This tool is supported on Windows, macOS, and Linux.
Related | How to Find WiFi Password on Chromebook?
Using the Linux developer environment, you can also run GIMP on a Chromebook. For meeting the requirements of digital art, graphic design, and basic to professional photo editing GIMP is widely used around the world by professionals and enthusiasts alike.
What Makes GIMP the Go-to Image Editing Tool?
Let us discuss some prominent features of GIMP that make it the go-to platform for image editing.
| Open-Source Tool | It’s a completely free tool for editing and retouching photos which are useful for beginners who may not have the budget to afford tools like Photoshop or similar such as premium-priced image editing tools. |
| Meant for Everyone | GIMP has so many features and tools within it. Both professional photo editors and enthusiasts can get a hook on how things work on GIMP and use it to generate the best output possible regarding image designing. |
| Useful Plug-ins | The plug-ins make life easier by allowing integration of GIMP to other programming languages such as Perl, Python, and programs such as Inkscape. |
| Support for Variable File Format | While the default file format supported for exporting and importing the project is XCF, GIMP supports other file formats such as GIF, BMP, TGA, PDF, TIFF, PS, PSD, MNG, etc. |
How to Install GIMP on Chromebook?
It is important to note that you must enable the Linux container on your Chromebook to support the Linux development environment. This is the first step before proceeding with installing GIMP on your Chromebook.
Certain Chromebook models that are manufactured before 2018 may not support Linux on them. So, you may not use GIMP on them.
Now, moving towards the steps for installing GIMP on Chromebook,
- Launch the Linux Terminal on your Chromebook.
- Enter the command below
sudo apt-get update
- To install GIMP, enter this command.
sudo apt-get install gimp
- When you see the “Do You Want to Continue” prompt on the screen press the Enter key.
- In the Chromebook Launcher within the Linux apps folder, you can locate the GIMP application.
- Now, double-click on the GIMP icon to launch it.
How to Use GIMP on Chromebook?
GIMP’s usability is pretty much the same irrespective of which platform you are using. So, you will have no issues learning the online tutorials if you use GIMP on a Chromebook.

Also, if you are searching for multiple lessons and tutorial videos, then follow this link to find a plethora of useful YouTube videos that offer sufficient knowledge regarding using GIMP.
Related | Which HDMI Port Should I Use for My Chromecast?
I hope this guide on how to install GIMP on Chromebook was informative. If you are a Chromebook user starting with photo editing and looking for a reliable tool, then try out GIMP. If you have any questions or doubts, feel free to reach out to us via the comment section.
