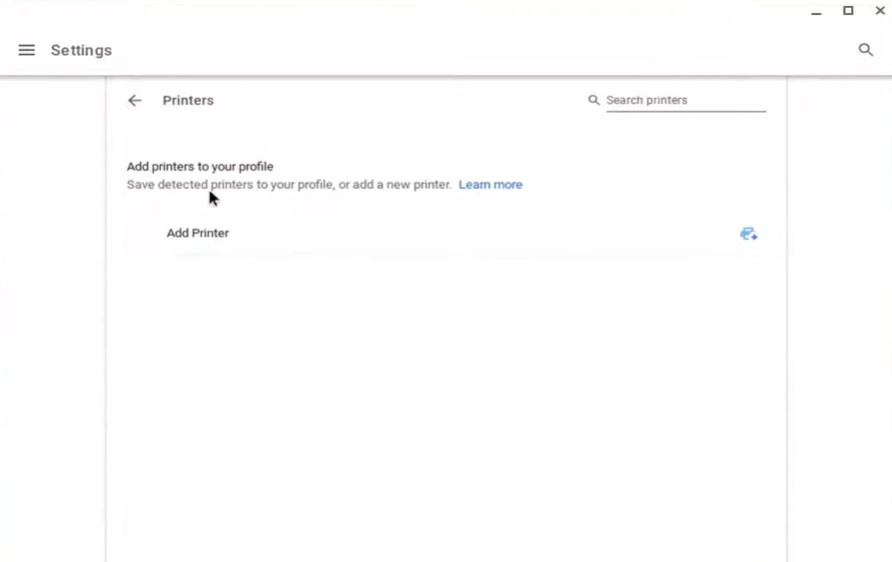
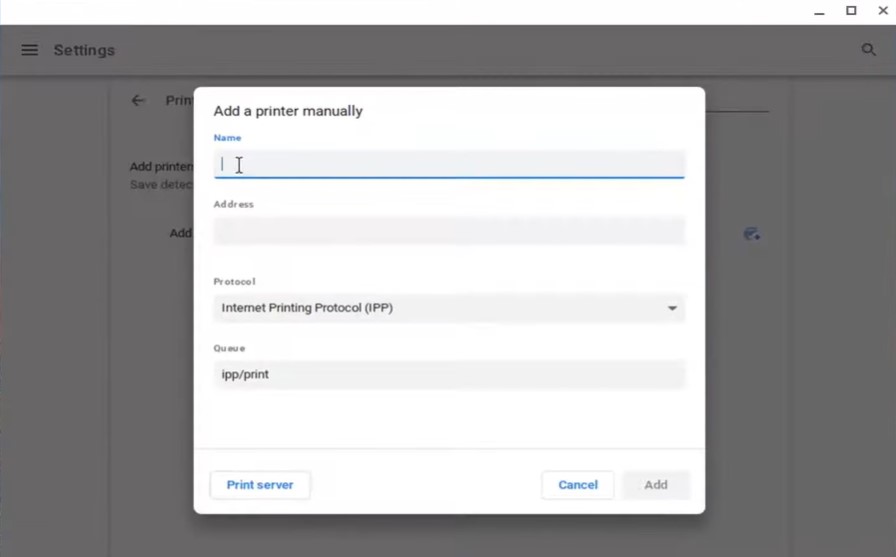
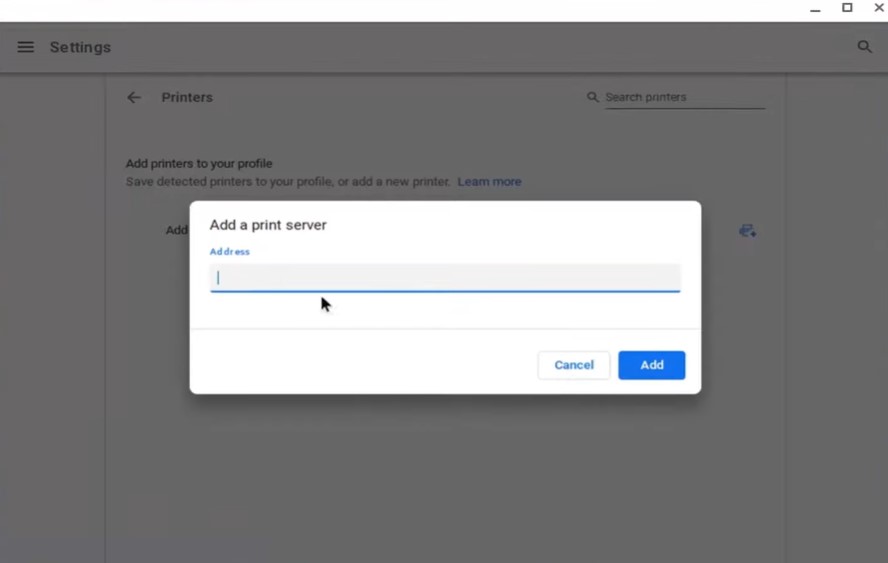
In this guide, let us know how to set up Google Print on a Chromebook. Any device that supports cloud printing, will enable the users to print files on any printer. If you ask what are its advantages, Google doesn’t need to create or maintain print subsystems for all client devices and printers. On the user’s end, there is no need to install device drivers. To get started the device should be installed with a Google Cloud printer.
Must See: How to Turn off Chromecast Notifications
Let me explain the working of Google Print. Assume you have two different printers. One at home and another at your school/workplace. With Google Print you can connect to any printer anywhere and print your document files. Not to mention it is faster and easy to print using this method.
Setup Google Print for a Network Connected Printer?
For the printers that you connect to the Chromebook via USB, you can follow the steps below to set up Google Print.
- Launch Google Chrome on the Chromebook and ensure that the Printer and the computer are connected over the same network.
- Then sign in to the correct Google account on the chrome browser.
- Next, in the URL bar type, Chrome://settings and press enter.
- In the search field, type Cloud Print.
- Now, in the search result, click on Manage Cloud Print Devices.

- Click on Add Printers and connect your Google account to the Google Print services.
- Next, click on Manage Your Printers and select the printer from the list of printers already connected to the Chromebook.
Alternatively, if you want to add a cloud-ready printer, then follow the above steps. Once you see the list of printers attached to your Chromebook, navigate to the left column. Click on the option Add a Cloud Ready Printer.
Next, from the Search by Model field, look for the available cloud-connected printer names.
Steps to Print with Google Print
Now, let us begin the printing of the documents.
- Open the Chrome browser on the Chromebook.
- Click the 3-dot button in the right corner.
- From the menu, select the option Print.
- Under the Destination tab, click on Change.
- Go to the tab Google Cloud Print and select the printer model.
- Next, you can set the number of copies you want, page layout, margins, paper size, etc.
- Once you have set all the necessary parameters for your document, click on Print.
That’s it! You have successfully printed your document using Google Print on Chromebook.
That’s how you have to set up Google Print on Chromebook. Note that, Google Print service has been permanently discontinued officially two years back in 2020 after running for a decade.


