Here is another how-to guide featuring Chromebook as the protagonist. While it seems so simple, there ought to have beginners who don’t know how to carry out certain basic functions such as taking a picture on Chromebook. Now, let’s see how take a picture on a Chromebook.

Like most of the gadgets out there having a camera, most of the Chromebooks come with at least a webcam which lets the users take pictures, carry out video calls and for streaming especially in the case of gamers.
Must See: How to open and use Chromebook Task Manager
Use camera on Chromebook
You can use the camera on your Chromebook to take photos or videos. To take a photo or picture, follow the below steps.
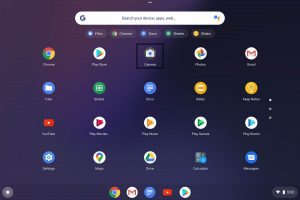
- From the corner of your screen, select the Launcher.
- Look for the Camera icon. Click the icon to launch the camera

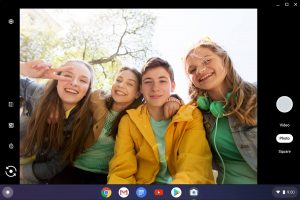
- Then, on the right side, choose an option:
- For taking a photo: Select Photo and then Take a photo.

- For capturing a video: Select Video and then Start recording.
The native Chromebook camera app allows changing how photos or videos are captured. To change your settings: Select Settings, then change the size of the grid, the length of the timer, or the camera resolution.
If you plug in an external camera or your Chromebook has 2 built-in cameras. You can also switch between cameras: At the left, select Switch camera. For capturing photos with a timer: Select Timer.
Note that, when your Chromebook is in tablet mode, you can press the up or down volume button to take a photo. Also, you can quickly snap a photo while you record a video. For that, while you record a video, select Take video snapshot option.
Also Read:How to delete files on Chromebook
As you’ve now learned how to snap a picture on Chromebook and its additional features. You’ll be wondering how to find the captured pictures. No worry, In the Camera app, on the bottom right, you can select your most recent photo or video. Alternatively, Photos and videos taken with the Camera can be found in the “Downloads” folder of your Files.
