In this guide, we have explained the various methods to screen share on Chromebook. This means sharing the screen of your Chromebook device with another device. The other device user can access your screen remotely and control it.
Screen sharing is a useful way to solve problems and perform various works. It is widely used in the corporate world. Remote access to your Chromebook screen allows others to fix any issue on it, collaborate to take over a pending task on your Chromebook, or simply view the contents of the screen related to some work.
Related | How to Factory Reset a Chromebook?
How to Screen Share on a Chromebook Laptop?
1. App to Screen Share Chromebook
Follow these steps to use the Remote Desktop App and share your Chromebook’s screen.
- Open the Chrome browser on the Chromebook.
- Go to Chrome Webstore.
- Search for Chrome Remote Desktop by Google.
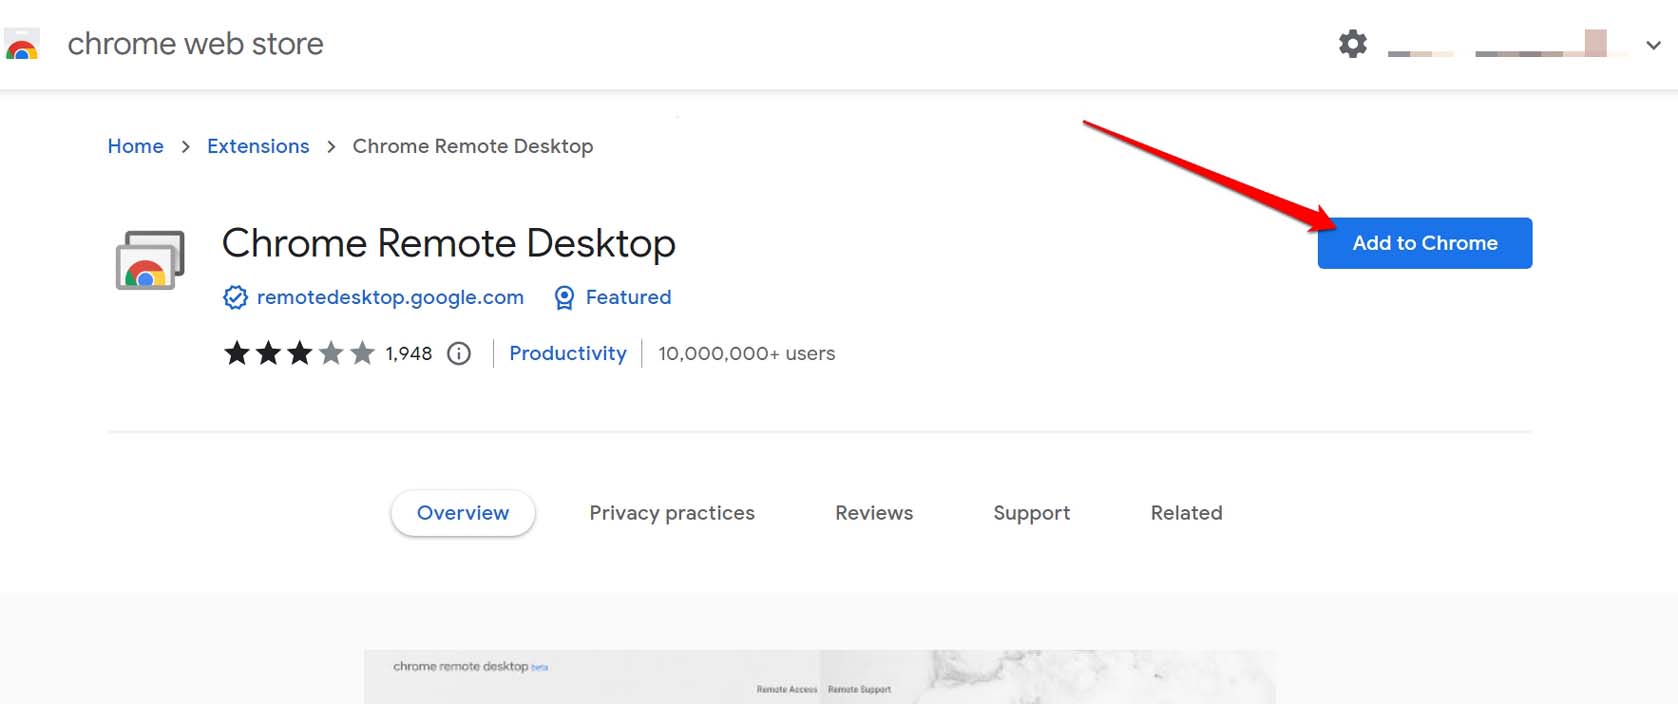
- Once you find it, click on Add to Chrome.
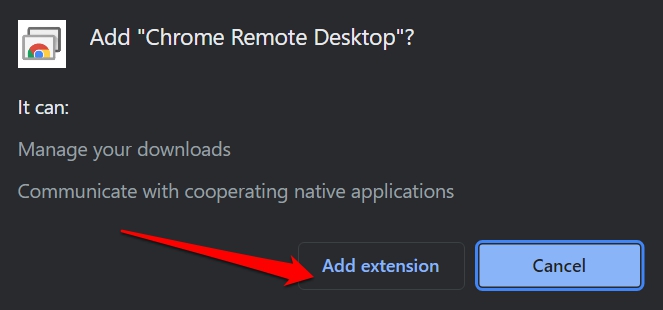
- Confirm by clicking on Add Extension.
- Now, you can see the Chrome Remote Desktop icon in the extension list of the Chrome browser.
- Click on the Chrome Remote Desktop icon. You will be redirected to Google remote desktop website.
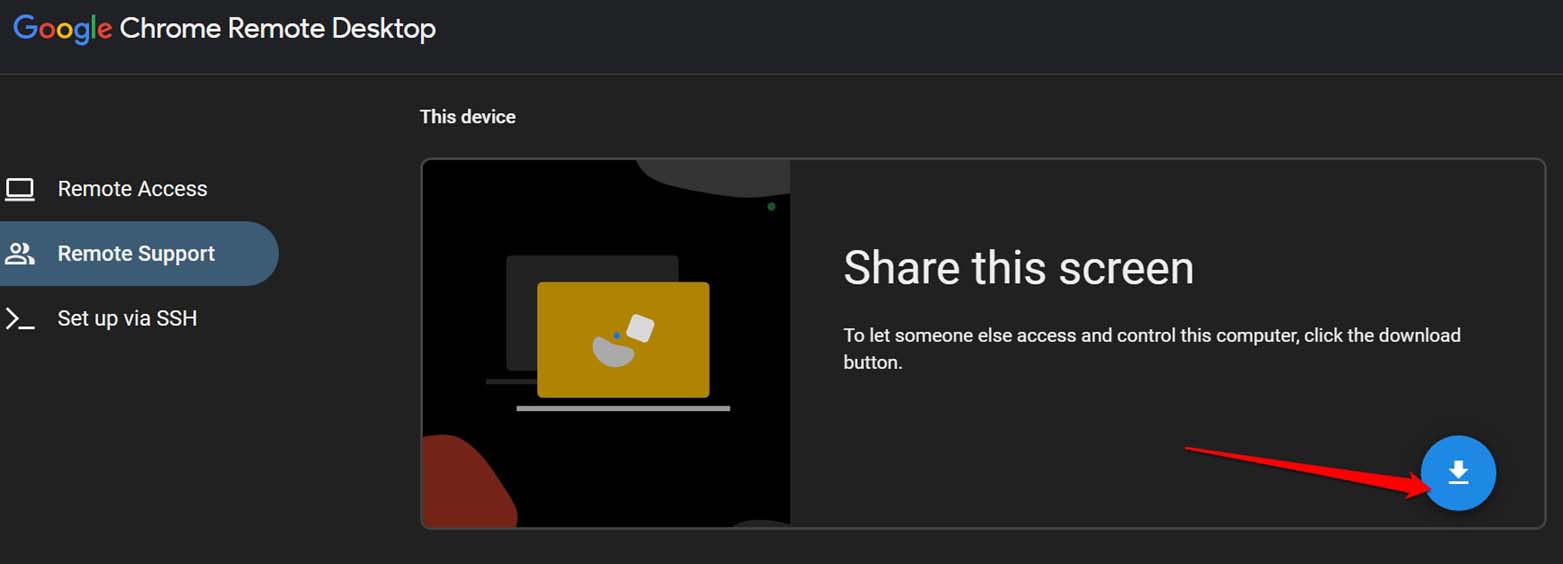
- Click on Share My Screen.
- On the next page. Click the blue Download icon. This will download the client app on your device.
- Once you install the client app of Chrome Remote Desktop, launch it.
- You will be prompted to generate a code.
- Share this code with the other device.
- Using that code, the other device will access your Chromebook’s screen.
Note: The other device that wants to remotely access your Chromebook must also follow the above steps and download/install Chrome Remote Desktop on their device.
2. Screen Share Chromebook Using an External Monitor
Get an external display and connect it to the Chromebook via HDMI cable.
- Open the Settings of your Chromebook.
- On the left-hand panel click on Device > click on Displays.
- Next, click on the checkbox beside the option Mirror In-built Display. [make sure by now you have connected your Chromebook and the external monitor]
3. Screen Share Chromebook Using Third-Party Apps
You can use dedicated video conferencing apps that have screen sharing as a native feature. Install popular video calling apps such as Zoom, Skype, or Microsoft Teams.
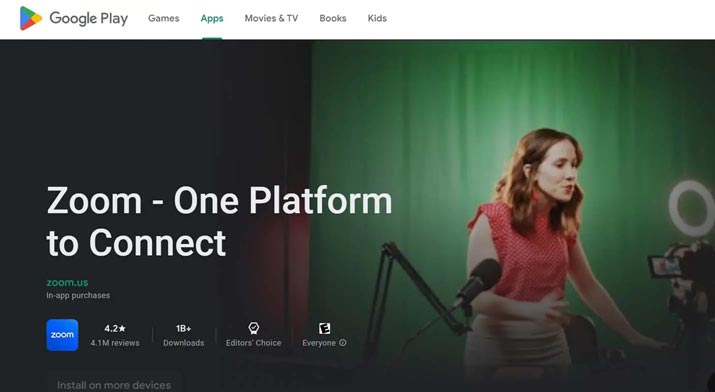
To install apps like Zoom you can use the Chromebook Play Store app.
- Launch the Play Store.
- Search for your choice of video calling app.
- Install the app.
- Launch the app.
- Then click on the Share Screen feature.
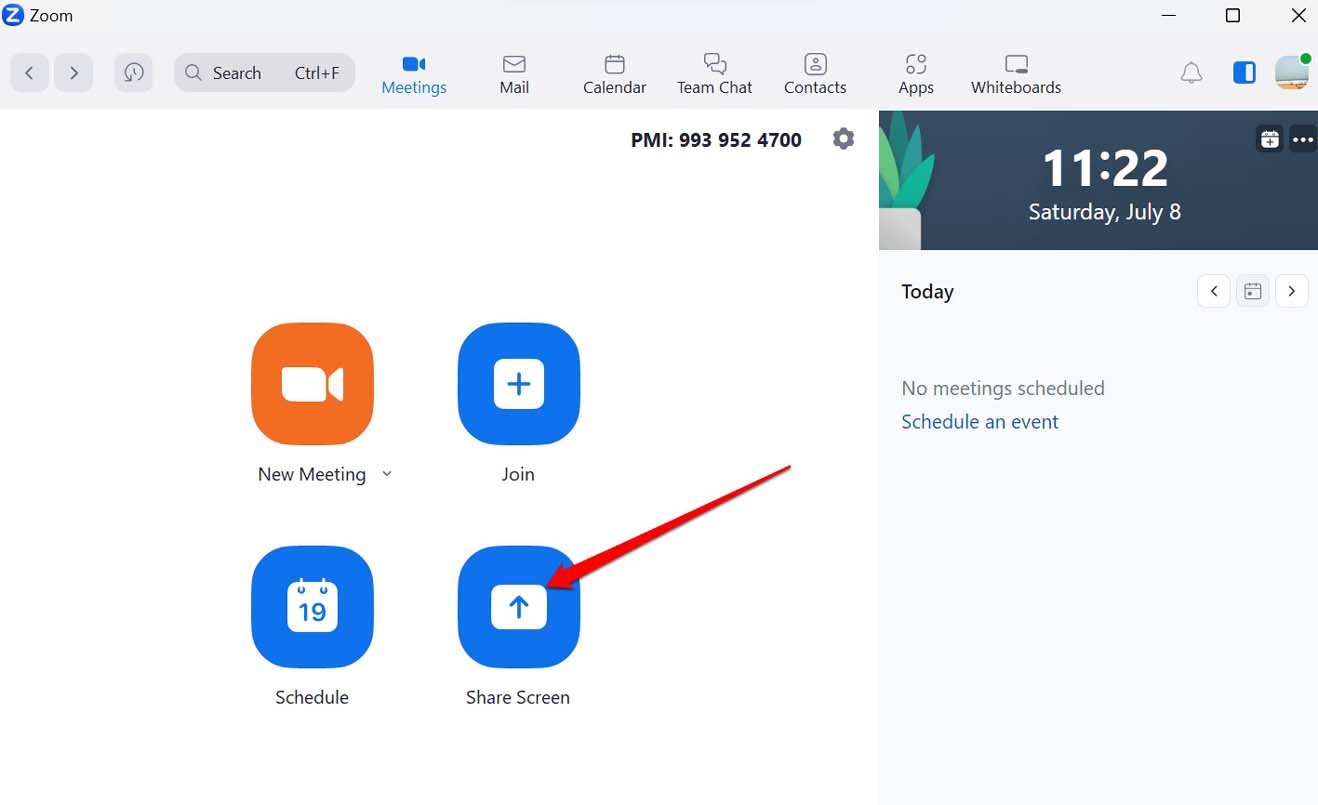
- You have to enter an ID which will be provided to you by the host of the online meeting.
- Once you enter the ID, your screen will be visible to other users accessing the online meet.
The Chromebook screen-sharing on Zoom works, Moreover, on most video conferencing apps the screen-share on Chromebook works like the steps mentioned above.
Must Read | How to Install and Use GIMP for Chromebook?
To make your work productive, collaborate with your team, or remotely fix any issue with your Chromebook or any app on it, sharing your Chromebook’s screen will come in handy. I hope this guide on “how to screen share on Chromebook” was informative.
