
Kodi is for those who would like to manage all most all the entertainment needs under a hood. In short and as they say, Kodi is an “ultimate entertainment center“. Being free and open-source, Kodi is available on most of the popular Operating Systems out there for smartphones, tablets, and PCs. And indeed, Kodi can be used on Chromebook as well.![]()
Must See: How to use Zoom on Chromebook
To be precise, depending on the type of Chromebook you have, the steps to install may vary on different Chromebooks. So, here we’ll be discussing the general procedure on how to get Kodi installed on the Chromebook. Also, later we’ll also guide you on how to use Kodi on Chromebook.
Steps to Install Kodi on Chromebook
As mentioned, the steps to install Kodi can vary, if you’ve somewhat modern Chromebooks with Google Play Store/Android apps support then the things are pretty easy. If not, then you may have to make the had dirty a little bit to get Kodi installed. Anyway, let’s see.
Chromebooks with Google Play Store
Getting Kodi on Chromebook supporting Android apps and having access to the Google Play Store is literally easy. All you’ve to do is simply download and install the app from the Play Store and rest is… you know the rest.
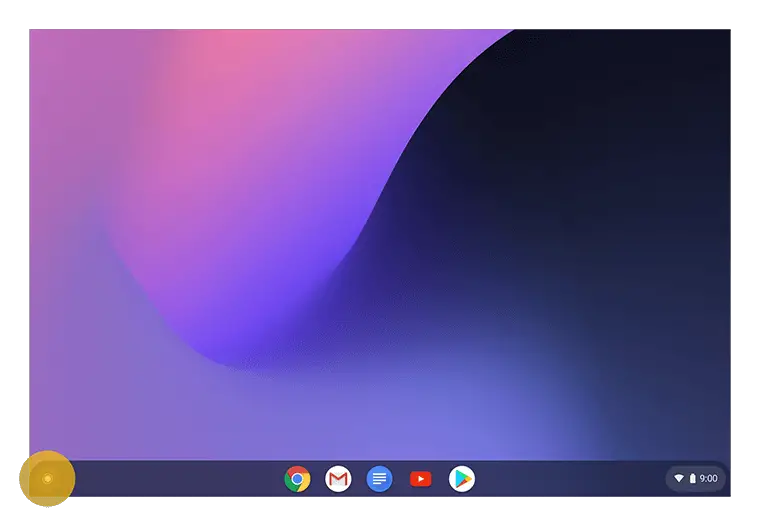
- Open your Chromebook
- In the corner of your screen, select the Launcher
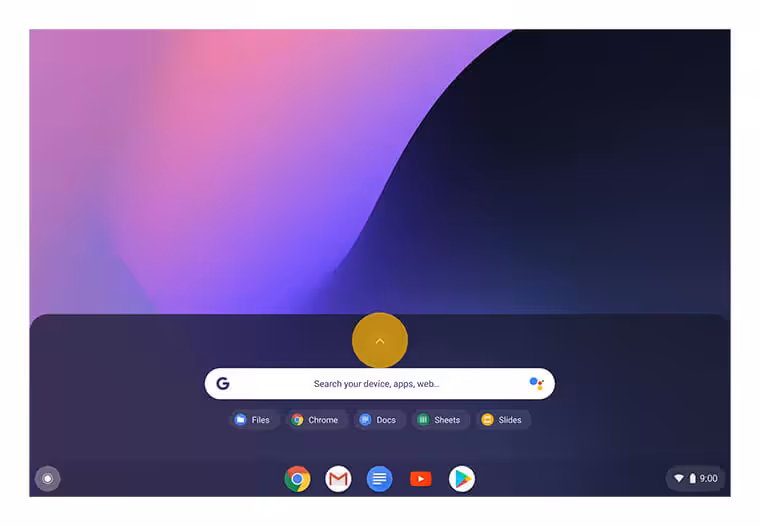
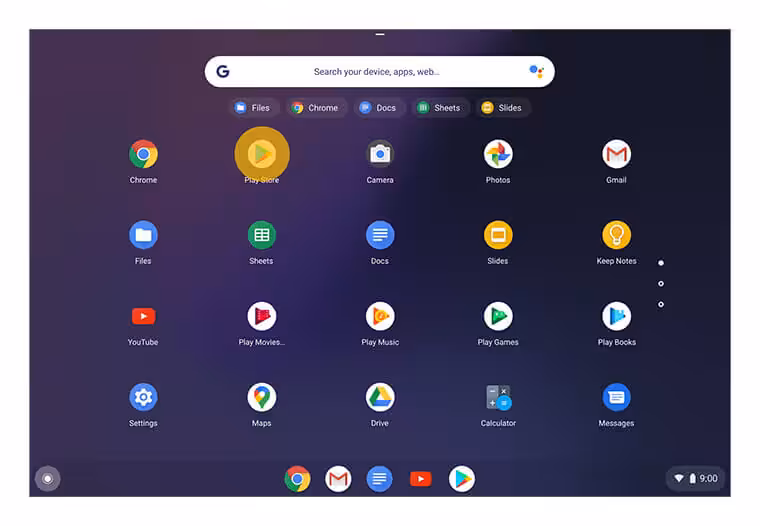
- Open the Google Play Store
-
Search for Kodi on the search bar.

- Kodi official application will be loaded in the search result.
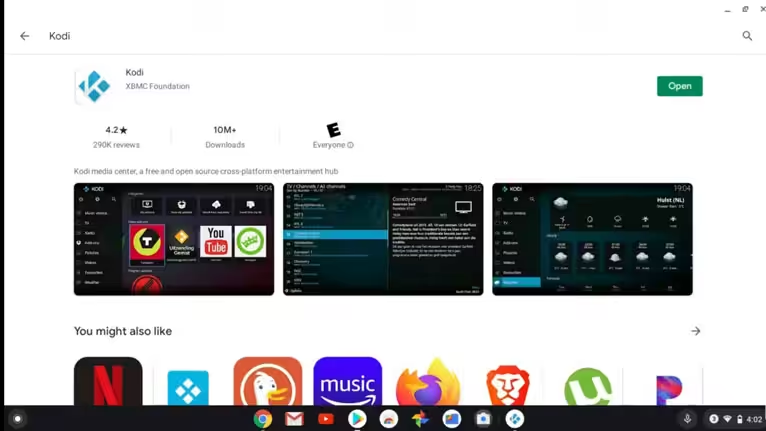
- Click Install
That’s it. You now have Kodi for Chromebook and you’re ready to rock.
Note: If Google Play Store isn’t available on your Chromebook, try updating the ChromeOS. You may receive Google Play support.
Chromebooks sans(without) Google Play Store
If your Chromebook didn’t feature Google Play Store support even after updating to the latest ChromeOS version available for your device, then you’ve to take help from some third-party software such as ARC Welder available on Chrome Web Store. Unfortunately, ARC Welder is discontinued since December 2020. However, you can still make use of it to run Android apps.
Because you can’t use the Google Play Store, you’ll need to find a “.apk” file of Kodi. You may approach a trusted third-party App Store/Website and download the APK on your Chromebook.
- Go to Chrome Web Store and install ARC Welder.
- Launch the ARC Welder.
- Tap on the plus sign (+) in an orange circle (“Add your APK”).
- From the list, select the Kodi apk you downloaded.
- Click Open at the bottom right.
- Now you’ll be given some options for how to run Kodi. Make sure you select landscape orientation and your form factor is set to tablet.
- Finally, click Test.
Kodi should launch on your Chromebook, and you’re good to go.
Get Started with Kodi
The Kodi application, at the first sight, it’’ll be like any other standard video player, similar to older versions of Windows Media Center. Behold the left of the display, where you’ll find a navigation bar containing everything you could possibly want to browse through: Movies, TV shows, music, etc. You can also watch content via casting/mirror Kodi on your TV. If you don’t know how to do it, then here’s a guide for you to cast Kodi to Chromecast enabled TV.
Now the right side of this menu, you’ll find a message announcing your library is “currently empty,” along with instructions to either enter the files section or remove your selected main menu item.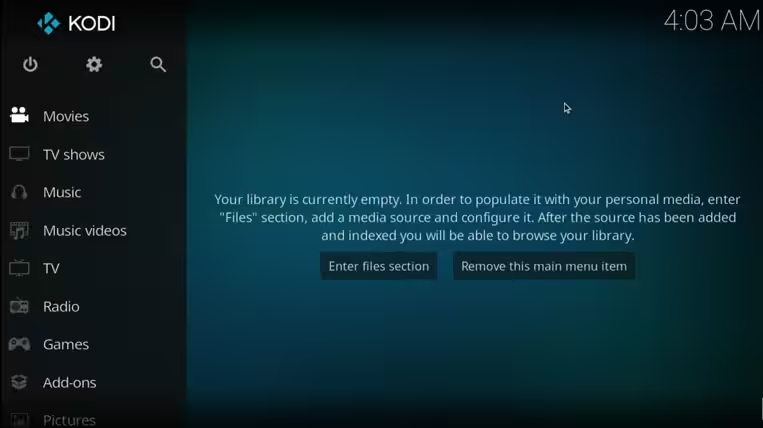
Here you can use Kodi to playback local content already on your device, select “Enter File Section” and browse through your files and select which you want to be displayed within Kodi’s in-built file browser. Then you may add local content into your Kodi library by tapping the “Add” button and then browsing through your device’s file system. Once done, your media source will appear on Kodi’s main display as an accessible media source.
Unlock Additional features with Kodi Add-Ons
Add-Ons are what make you leverage the full potential of Kodi. In the main menu of Kodi, there is a category called: Add-ons. As simple as it sounds, its functionality is beyond and what makes Kodi more compelling.
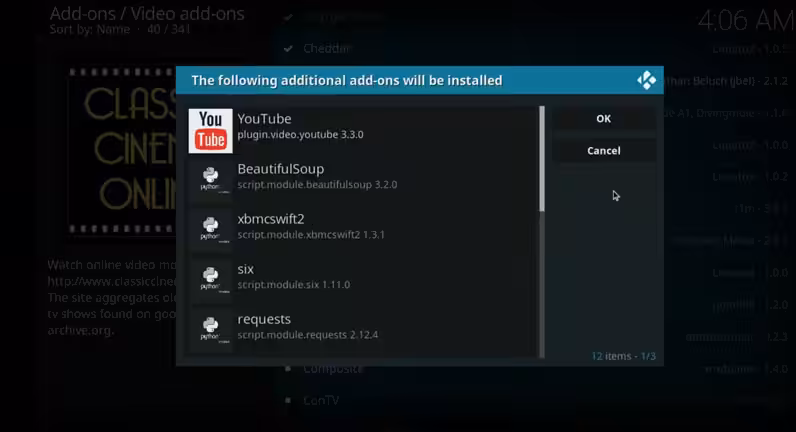
You may use the in-built add-on browser to search for the hundreds and thousands of approved add-ons by Kodi. Or else, if you can extend the collection by getting some other add-ons from the internet as well.
Add-on Browser
The Add-On Browser lists some of the popular and useful add-ons. If you can’t find in the feed what you’re looking for, then there’s a helpful search option if you know the name of the add-on. Tapping the settings menu brings you to a menu that lets you change how add-ons work in Kodi. You can also change how updates install, display notifications, etc.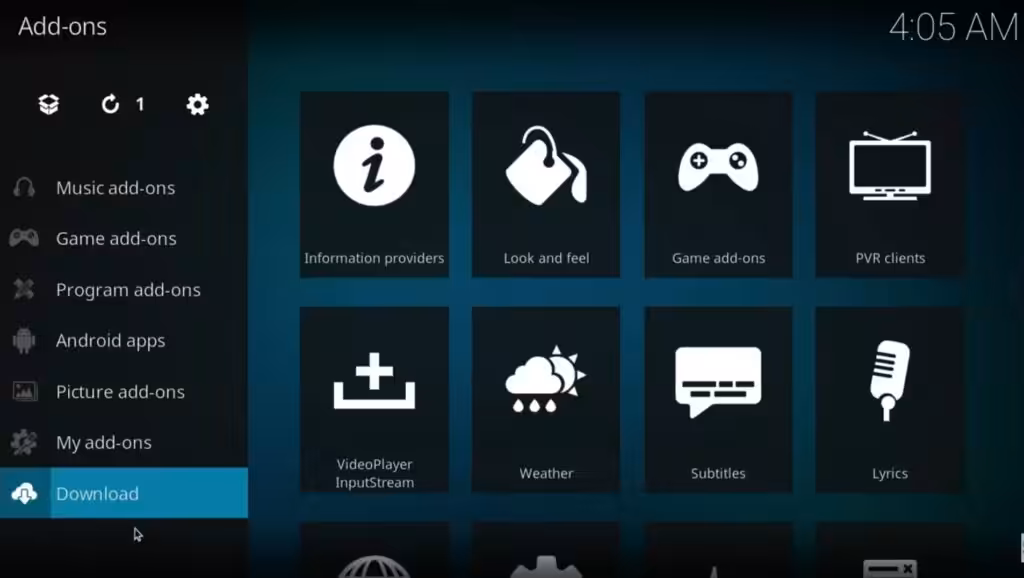
Additional Add-Ons from the Internet
A menu for adding plugins to Kodi than featured in the in-built browser is available with several different options for adding your own content such as “install from the repository“, “install from a zip file“, and so on. You may also view your add-ons here, the recently updated and pending updates for your installed add-ons also will be visible.
Being opensource and free, there are a ton of available third-party repositories of Kodi apps online. Be careful as some may be illegal.
Also Read: How to install and play Minecraft on Chromebook
That being said, hope you’ve got some basic idea on how to use Kodi on Chromebook. Once installed take time and get through the user-interface and within a few days, you’ll be able to make use of Kodi and its features to a large extend.